






Your robot vacuum works hard every day, and the small spinning side brush does a big share of that work. It sweeps dust and crumbs from corners and along walls into the path of the main suction. When hair and fibers wrap around it, cleaning gets worse, the motor strains, and the brush can even stop spinning. The good news is that cleaning a side brush takes about five minutes and needs only basic household items.
This guide shows you exactly how to clean the side brush on a robot vacuum, how often to do it, what to avoid, and when it is time to replace it.
Why Side Brush Cleaning Matters
A clogged side brush is one of the most common reasons a robot vacuum seems to “get worse” over time. Regular cleaning helps you:
- Keep edge and corner cleaning effective.
- Reduce strain on the small brush motor.
- Prevent hair from working into the gearbox area.
- Cut down on odd noises and uneven spinning.
- Extend the life of the brush and the robot.
Know Where the Side Brush Is
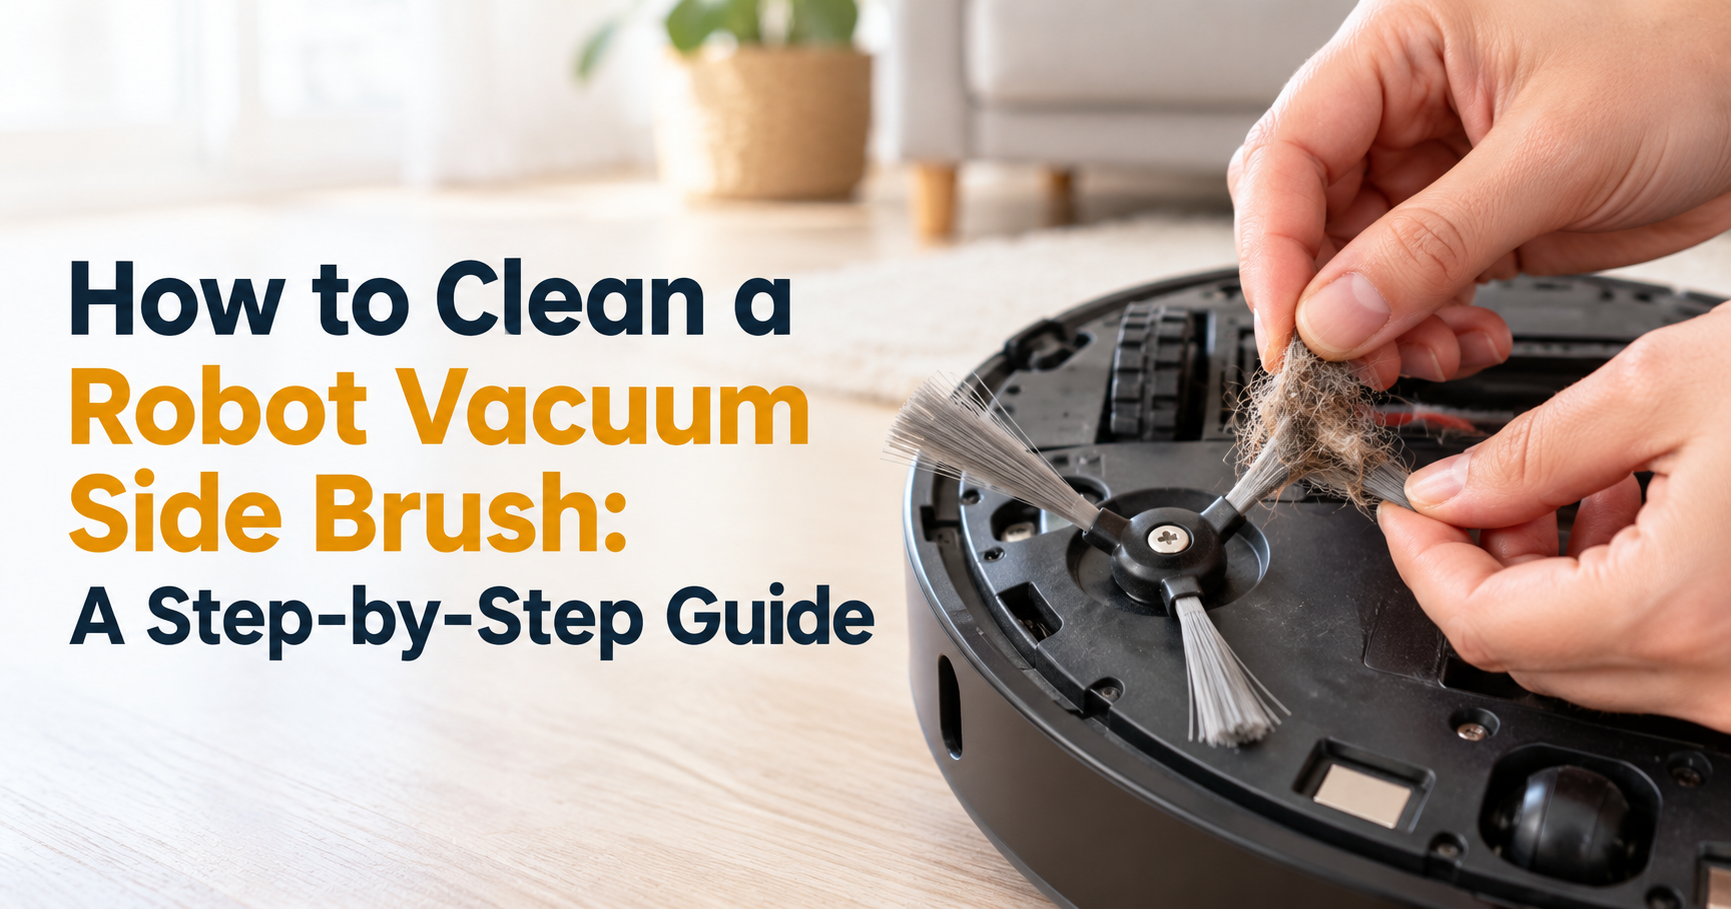
The side brush sits on the underside, near the front edge. Most models have one, and some have two. It is separate from the larger main roller brush in the center.
What You Will Need
- Small scissors or a seam ripper
- A small Phillips screwdriver (only if your brush is screwed on)
- A soft dry cloth or microfiber cloth
- An old toothbrush or the cleaning tool supplied with your robot
- Warm water and a drop of mild dish soap (optional)
- Tweezers for stubborn threads
How to Clean the Side Brush on a Robot Vacuum: 5 Steps
Step 1: Switch Off and Flip the Robot
Turn the robot off, or make sure it is not on its dock and not in a cleaning cycle. Place it upside down on a towel or soft surface so you do not scratch the top cover.
Step 2: Remove the Side Brush
Many side brushes simply pull straight off the shaft, while others are held by a small screw. If yours has a screw, turn it counterclockwise and keep it somewhere safe. If you are unsure, check your manual, because removal differs between brands.
Step 3: Cut Away Tangled Hair
Slide the scissors under the wrapped hair and snip along the hub. Pull the strands away with your fingers or tweezers. A seam ripper works very well because it slices hair without cutting the bristles.
Step 4: Clean the Brush and the Shaft
Brush dust off the bristles with a dry toothbrush. For sticky grime, rinse the brush in warm soapy water and rinse it clean. Then wipe the shaft and the opening where the brush sits, since hair often hides there. Never submerge the robot or pour water on its underside.
Step 5: Dry Completely and Refit
Let the brush air dry fully, ideally for several hours. Avoid a hot hair dryer, because high heat can bend the bristles. Press the brush back on until it sits snugly, or tighten the screw gently without over-tightening. Spin it by hand to confirm it turns freely.
How Often Should You Clean It?
| Home type | Check | Deep clean |
|---|---|---|
| No pets, short hair | Every 1 to 2 weeks | Monthly |
| Long hair in the home | Weekly | Every 2 weeks |
| Dogs or cats that shed | Every few runs | Weekly |
These are practical guidelines, not strict rules. If the brush looks wrapped or sounds uneven, clean it sooner.
Common Mistakes to Avoid
- Pulling hair without cutting it. This can damage the bristles or loosen the hub.
- Soaking electronics. Only the removable brush should touch water.
- Refitting a damp brush. Moisture can cause odors and corrosion.
- Ignoring the shaft. Hair buried underneath keeps causing noise and drag.
- Using harsh chemicals. Strong cleaners can weaken plastic and bristles.
When to Replace the Side Brush
Cleaning cannot fix a worn brush. Replace it if you notice any of these signs:
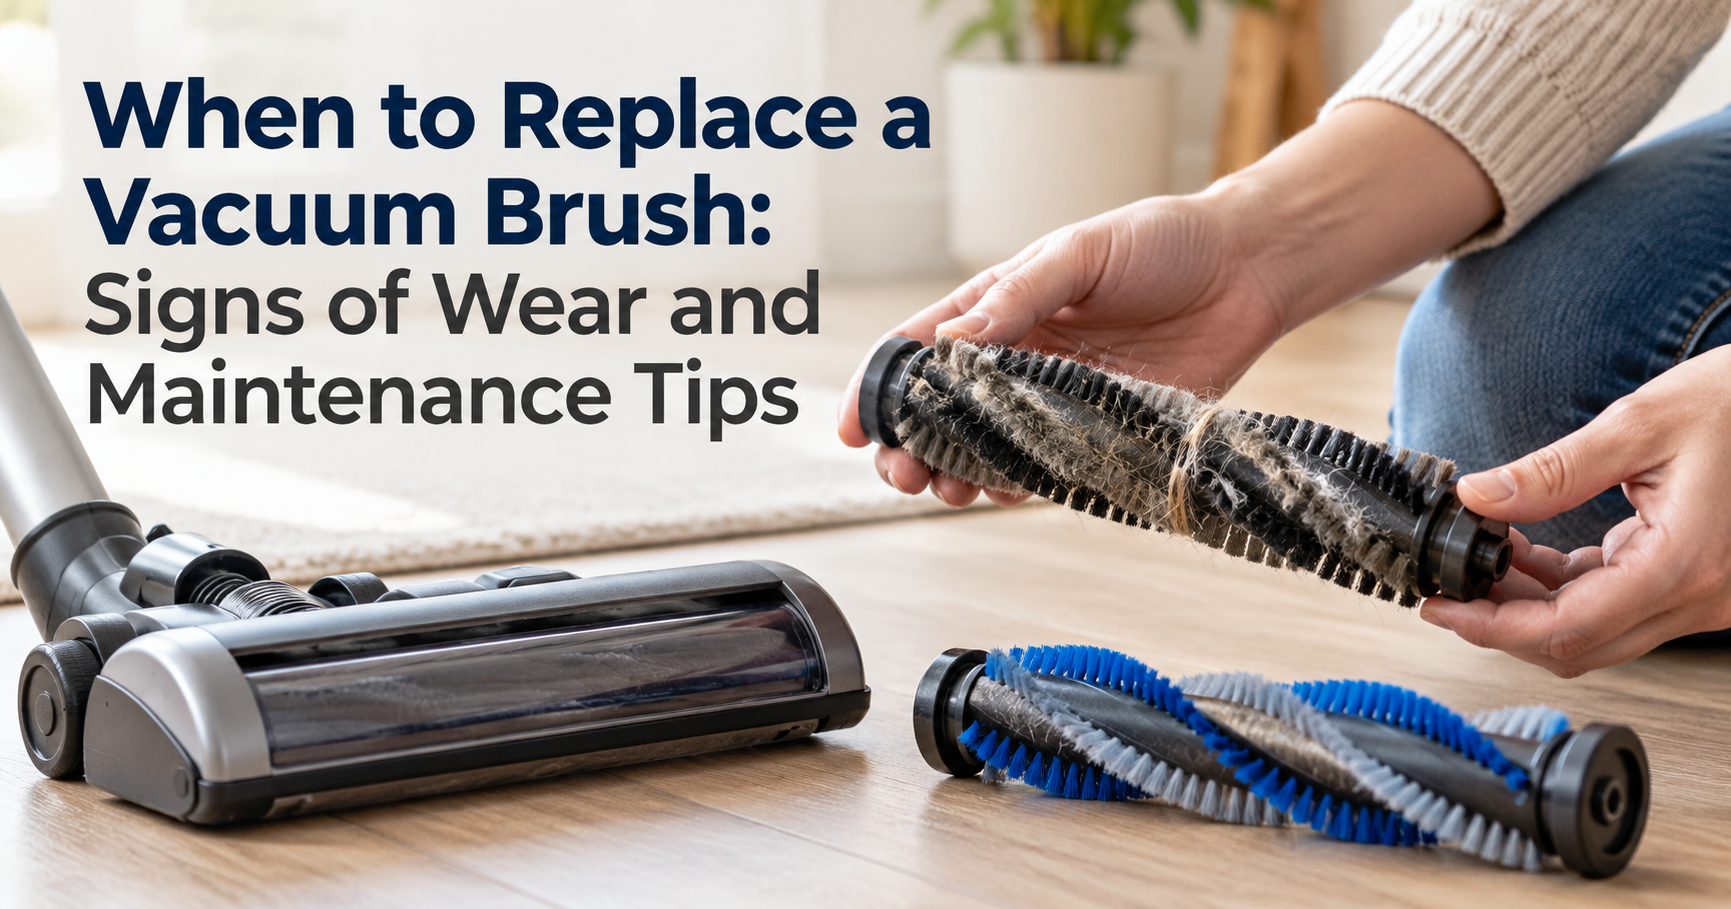
- Bristles are flattened, curled, or worn short.
- The brush wobbles or will not stay on the shaft.
- It no longer pushes debris toward the suction path.
- Cracks or heavy discoloration appear on the hub.
Replacement brushes are inexpensive and easy to swap. Always choose one made for your exact robot model, and compare the fit, number of arms, and bristle type with your original. Buying a multi-pack of brushes also means you always have a spare ready.
Simple Habits That Reduce Tangling
- Tidy cables, rug fringes, and loose socks before each run.
- Brush pets regularly to cut down on loose fur.
- Empty the dustbin and clean the main roller at the same time as the side brush.
- Keep a spare brush so you can swap and clean at your own pace.
Frequently Asked Questions
How often should I clean the side brush?
Check it once a week and clean it whenever hair is wrapped around the hub. In homes with long-haired people or pets, a quick check after every few runs helps.
Can I wash the side brush with water?
Most side brushes are plastic and bristles with no electronics, so a quick wash in warm soapy water is usually fine. Check your manual first, and never wet the robot itself.
Why does my side brush keep tangling?
Long hair and pet fur wrap around the hub shaft. Cleaning more often, trimming loose bristles, and keeping floor cables and fringes out of the way all reduce tangling.
When should I replace the side brush?
Replace it when bristles are bent flat, worn short, or no longer sweep debris toward the suction path. Many makers suggest roughly every 3 to 12 months depending on use, so follow your model’s guidance.
Is a noisy side brush a sign of a problem?
Often it just means hair is wrapped around the shaft or the brush is loose. Remove it, clear the shaft, refit it firmly, and test again.
Final Thoughts
Learning how to clean the side brush on a robot vacuum is one of the easiest ways to keep your machine performing like new. A few minutes of weekly care protects the motor, improves edge cleaning, and delays replacement costs. Build the habit, keep a spare brush on hand, and your robot will keep your floors tidy with very little effort from you.