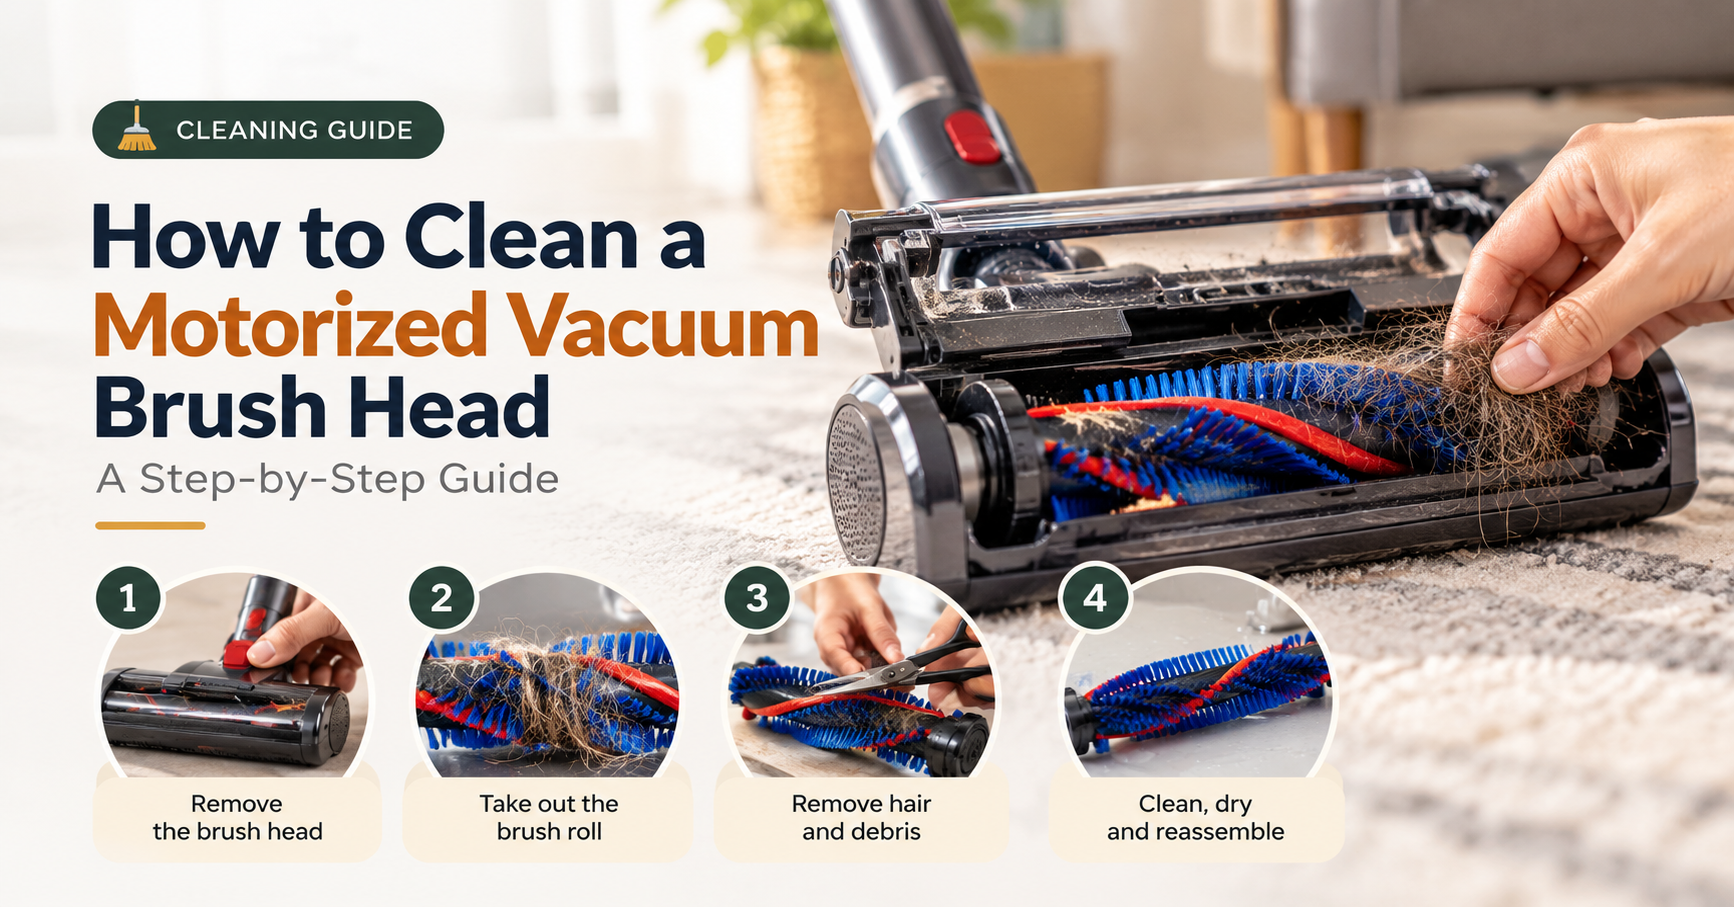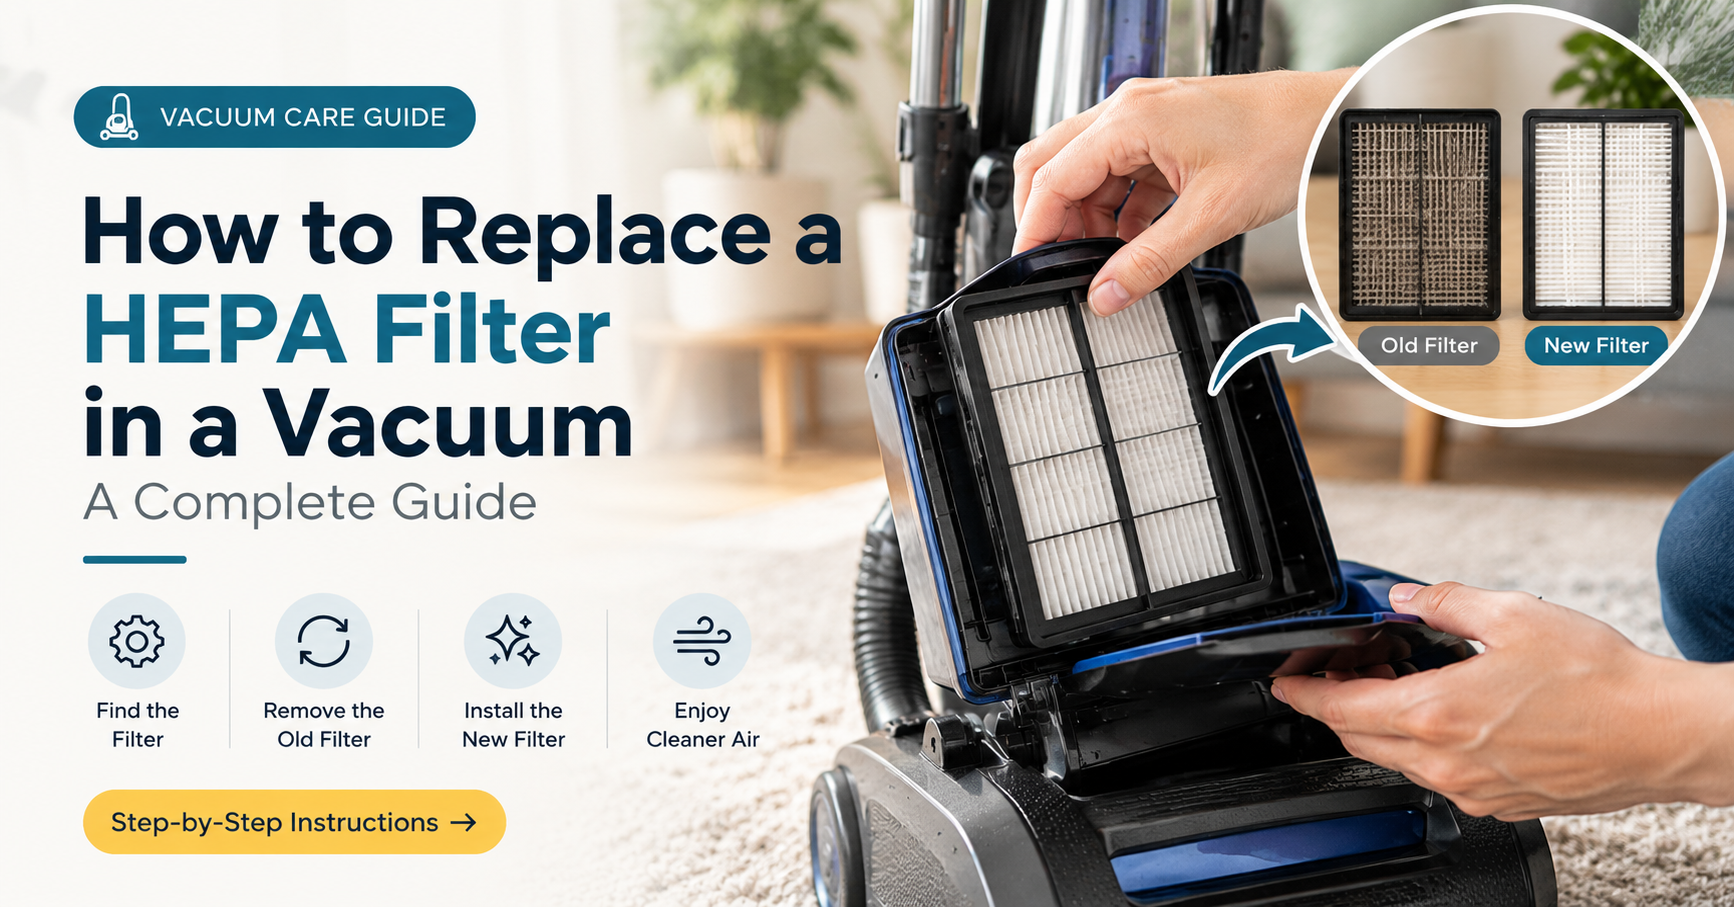

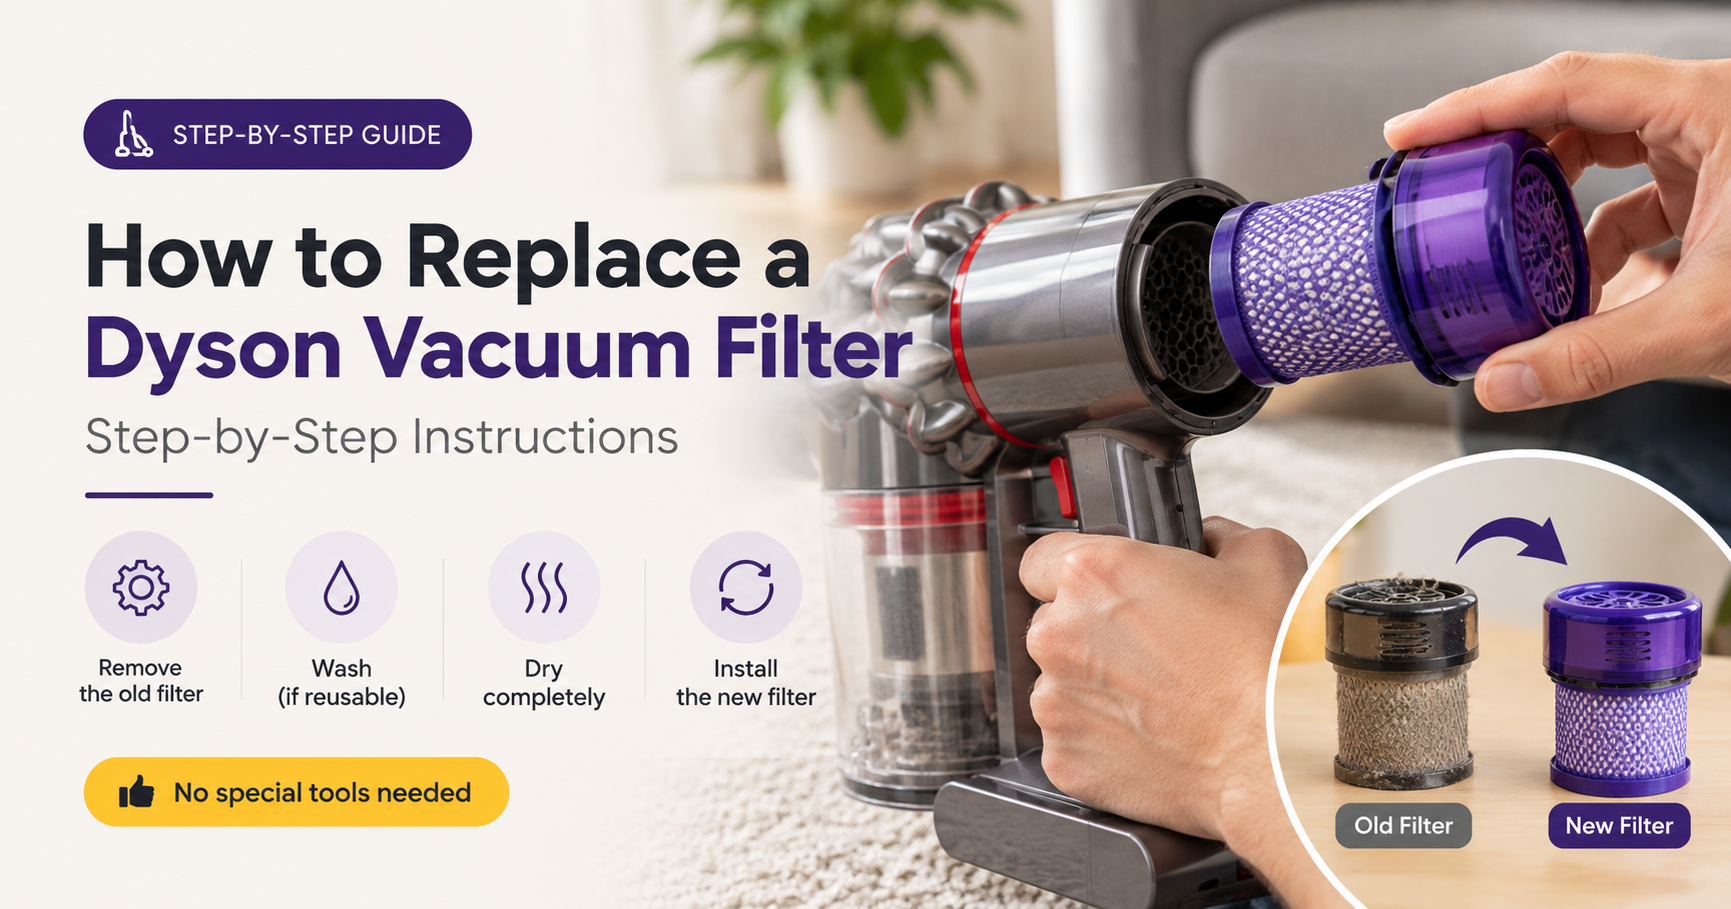
A clogged filter is the single most common reason a Dyson vacuum loses suction, starts smelling musty or cuts out unexpectedly. The good news is that learning how to replace a Dyson filter takes only a few minutes, needs no tools and can save you the cost of a repair or a brand-new machine. In this complete guide you will learn where the filter sits, how to remove it, how to wash it correctly, when to buy a replacement and how to fit it back so your vacuum performs like new.
Quick Answer: How to Replace a Dyson Filter
- Switch the vacuum off and unplug it or remove the battery.
- Empty the dust bin.
- Locate the filter (usually at the back of the motor housing or under the bin).
- Twist it counter-clockwise and pull it out.
- Wash it in cold water only, or discard it if it is damaged or more than a year old.
- Let a washed filter dry for at least 24 hours.
- Insert the dry (or new) filter and twist clockwise until it locks.
Why Your Dyson Filter Needs Attention
Every Dyson uses filtration to trap fine dust, pollen, pet dander and allergens before the air is pushed back into your room. Over time those particles clog the filter media. Airflow drops, the motor works harder and cleaning performance suffers. A well-maintained filter protects the motor, keeps exhaust air cleaner and extends the life of the whole machine.
Signs It Is Time to Clean or Replace the Filter
- Noticeably weaker suction even after emptying the bin
- A musty, dusty or “wet dog” smell from the exhaust
- The vacuum pulsing, cutting out or overheating
- Visible dirt, staining, tears or hardened patches on the filter
- Fine dust blowing out of the machine
What You Will Need
- A replacement filter that matches your exact Dyson model (only if replacing)
- Access to cold running water
- A clean, dry, well-ventilated spot to air dry the filter
- Your model name or number, found on the rating label or in the manual
Know Your Dyson Filter Types
Different Dyson models use different filter layouts, so identify yours before you start.
- Cordless stick vacuums (V6, V7, V8, V10, V11, V15): usually one or two washable filters. On many models the filter is in the rear cap of the motor housing and is released with a counter-clockwise twist.
- Upright and Ball vacuums: commonly a pre-motor filter near the cyclone or beneath the clear bin, plus a post-motor HEPA filter behind a cover or in the base.
- Cylinder vacuums: filters are typically found under the bin or behind a removable cover on the machine body.
- Pre-motor filters are washable, while post-motor HEPA filters on some models must be replaced rather than washed. Always check your manual.
Step-by-Step: How to Replace a Dyson Filter
Step 1: Switch Off and Empty the Bin
Turn the vacuum off and unplug it. For cordless models remove the battery if your model allows it. Empty the dust bin over a trash can so no loose dirt falls on the filter later.
Step 2: Locate and Remove the Filter
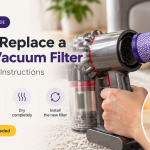
Find the filter housing. On many cordless models it is the cap at the back of the handle or motor. Twist it counter-clockwise and pull it straight out. On uprights, lift the cyclone or open the filter cover first. Do not force anything; the filter should release with gentle pressure.
Step 3: Inspect the Filter
Look closely. If the filter is torn, deformed, permanently discoloured or still smells after washing, replace it. Dyson generally suggests renewing washable filters about once a year, though homes with pets, allergy sufferers or heavy daily use may need to replace them sooner.
Step 4: Wash the Old Filter (Optional)
If you are not replacing it yet, rinse the filter under cold running water. Squeeze it gently several times until the water runs clear. Tap it against the side of a bin to loosen trapped dust.
Important: use cold water only. Never use hot water, soap, detergent, a dishwasher, a washing machine or a tumble dryer, as these can damage the filter and reduce its effectiveness.
Step 5: Dry Completely
Shake off excess water and leave the filter to air dry for at least 24 hours in a warm, airy spot. Keep it away from radiators, direct sun and hair dryers. Fitting a damp filter can cause bad smells, mould and motor damage, so be patient. Many owners keep a spare filter so the vacuum is never out of action while one dries.
Step 6: Fit the Dry or New Filter
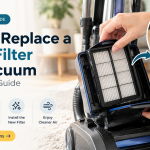
Line up the filter with its housing, push it in and twist clockwise until it clicks or sits firmly. Replace the cover, bin or cap, then reattach the battery or plug in the vacuum.
Step 7: Test the Vacuum
Switch the machine on and run it for a minute. Suction should feel stronger and the exhaust air should smell neutral. If the vacuum still performs poorly, check the brush bar, hose and bin for blockages.
How Often Should You Clean or Replace a Dyson Filter?
- Wash: about once a month, or more often in homes with pets or heavy use.
- Replace: roughly every 12 months, or immediately if damaged.
- HEPA post-motor filters: follow the manual, as some models need replacement instead of washing.
Choosing the Right Replacement Filter
Filters are not universal. A filter that fits a V8 will not fit a V11 or a Ball upright. Check the model number on the vacuum before buying. When comparing options, consider:
- Genuine versus compatible: genuine filters are made to exact tolerances and warranty terms, while compatible filters are usually cheaper but vary in quality.
- Multi-packs: buying two or more lets you swap while the washed one dries and lowers the cost per filter.
- Filtration level: if allergies are a concern, choose a filter that matches your original HEPA specification.
- Warranty: using non-approved parts can affect support in some cases, so read the warranty terms.
Common Mistakes to Avoid
- Putting the filter back while it is still damp
- Washing with detergent, hot water or in a machine
- Forgetting to empty the bin before removing the filter
- Buying the wrong model’s filter
- Ignoring tears or hardened, stained sections
- Skipping regular cleaning until suction is already poor
Troubleshooting After Replacing the Filter
Suction Is Still Weak
Check the dust bin seal, the wand and hose for clogs and the brush bar for tangled hair. A blocked airway can mimic a dirty filter.
The Vacuum Smells
The filter was probably not fully dry, or the bin and cyclone need washing. Dry everything fully and try again.
The Filter Will Not Click In
Make sure you have the correct filter and that it is aligned with the housing. Do not force it.
The Vacuum Cuts Out
Overheating from a blockage can trigger a cut-out. Let it cool, clear any blockage and refit a clean filter.
Extra Tips to Keep Your Dyson Performing Like New
- Empty the bin when it reaches the MAX line, not later.
- Rinse the bin and cyclone assembly occasionally and dry them fully.
- Remove tangled hair from the brush bar regularly.
- Store the vacuum in a dry place away from damp walls.
- Keep a spare filter so there is no downtime.
Frequently Asked Questions
Can I wash a Dyson filter?
Yes, most washable Dyson filters can be rinsed in cold water. Never use detergent and always allow a full 24 hours of drying time.
How often should I replace my Dyson filter?
About once a year in normal use, sooner if it is torn, discoloured or still weak after washing.
Can I use my Dyson without a filter?
No. Running it without a filter lets fine dust reach the motor and can cause permanent damage.
Do all Dyson models use the same filter?
No. Filters are model-specific, so always match the filter to your vacuum’s exact model name or number.
How long does a Dyson filter take to dry?
At least 24 hours at room temperature. If it still feels damp, leave it longer.
Is a washable filter as good as a new one?
A properly cleaned filter works well for a while, but its performance drops over time, which is why an annual replacement is recommended.
Final Thoughts
Knowing how to replace a Dyson filter is one of the easiest and most effective ways to protect your investment. Empty the bin, twist the filter out, wash it in cold water, dry it for a full day and refit it, or swap in a fresh one when it is worn. With a monthly wash and a yearly replacement, your Dyson will keep delivering strong suction, cleaner air and a longer life.